Almost there…
The recent sunny weather has made working with the kiln quite warm, but nearly finished the painting phase, just the very top to do!
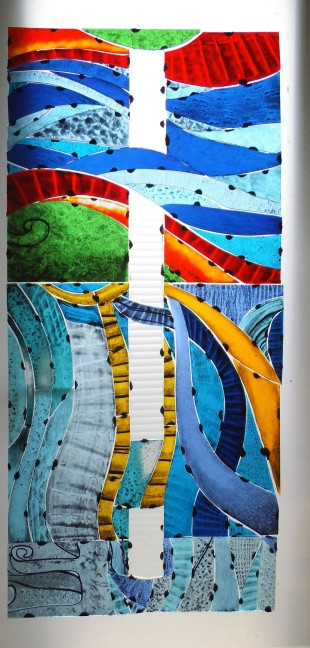
First firing finished
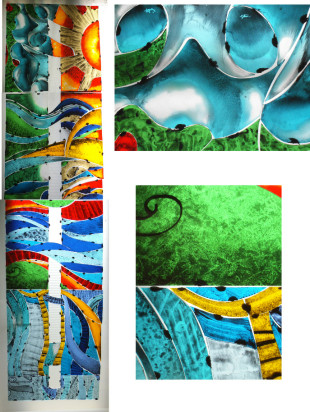
As the students original designs are so dynamic and energetic I decided that using different textures on each piece of glass would keep the visual dynamics of the whole panel when painted.
So, apply paint and use anything from card, bubble wrap to an ice scrapper to mark make. Only 6ft left to paint and fire…!
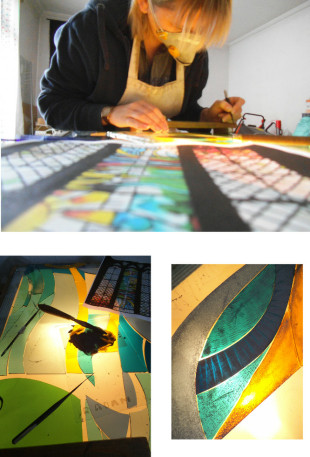
Begin the painting…
Right ho! All the glass has been sandblasted and cleaned, again, so it’s time to get the paint out.
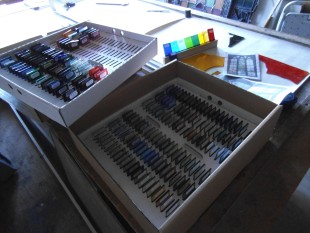
The paint is ground glass and pigment. Mix this with various mediums from water to vinegar, glycerine, various oils etc ( not altogether though!) and you get an endless array of different ‘paint’ to apply to the glass. Generally the paint is black or brown, though you can get red for flesh and others. Use depending on what you are trying to achieve on the surface of the glass.
I have mixed up ‘best tracing black’ with water and a small amount of gum arabic, which adds adhesion, as I will mostly be applying a ‘matt’ layer of paint to the glass.
The glass pieces are cleaned and placed over a light box.
When thoroughly mixed the paint is applied to the glass with a broad brush and then manipulated to create the effect I want.
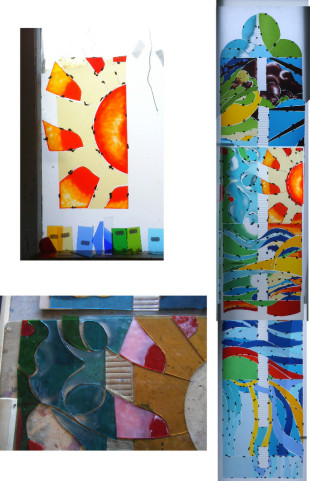
More sandblasting!
Well, after a few hiccups ( having to replace my air compressor being the main one!) I have managed to finish the sandblasting phase- the images show the glass before fire polishing. Putting the pieces in the kiln, and firing them to a temperature that is just before melting point, smooths any edges and makes the glass less opaque too, so it is easier to paint onto the surface.
I had a bit of fun with the sun- who knew the orange flash glass surface was so hard?? It took ages to sandblast the layers but got there in the end! Now to painting…
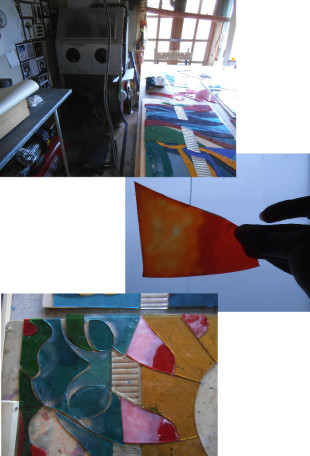
Sandblasting
Now to sandblasting!
In the old days you would remove the layer of colour from ‘flashed’ glass using acid but it’s much quicker and safer to use a sandblaster. The compressed air fires the sand out of a gun at the glass- hence the cabinet to contain it all in the left hand corner of the top image- it does get noisy and very dusty!
The sandblasted area turns from transparent to opaque.
Flashed glass is one of the most expensive to buy – it is a layer of one colour on top of another. The thinner the top layer the better quality, and the quicker to remove. This allows you to have more than one colour, or tone, in one piece of glass.
Luckily for me the orange glass I have goes to yellow, though the flash layer is quite thick, so fairly time consuming….
Once I have sandblasted all the pieces I want they will be put in the kiln and ‘fire polished’ to make the surface smoother and slightly more transparent again.
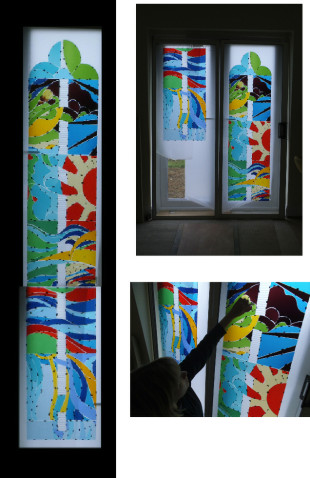
Checking colours!
Having cut all the glass pieces I need to check that they look good together.
Using plasticine (and two spare doors I kept for the occasion) the glass is stuck onto the door glass so that it can be viewed as a whole , well, nearly, as at 9ft I had to use both doors and a bit of computer trickery to show the 3 sections as a complete window.
Some of the pieces at the moment do not look like they do on the design. These need to be worked on to achieve this through the use of sandblasting, painting and enamelling. So now it’s sandblasting time…….
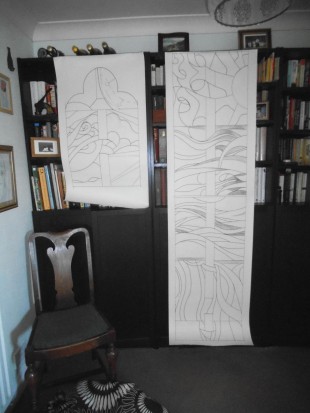
The Full size cartoon
The ‘cartoon’ (Italian for large drawing?) is the full sized drawing that shows all the leadlines so it can be used as a pattern to cut the glass. Traditionally the cartoon would show the thickness of all the leads and all the painting needed but I have just drawn out the ‘heart’ of the lead to save me time. Overall the entire window is 9ft x 18inches approx so I have divided it into 3 panels that will slot into one another to form the whole design. Now this is done I can start to cut out the glass!
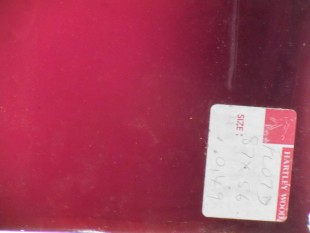
What a bit of luck!
Having sorted out the glass colours I want to use for the design I now have to do two things- 1 is to see if I have any of them in stock, 2 is to go and buy what I don’t have.
Whilst looking through the glass rack I came upon this- a very rare ( because the manufacturers no longer exist) and expensive ( pink glass is coloured using gold) piece of pink flashed glass by Hartley Woods! Hopefully there’s enough for what I need but it made me very happy as I’ll never find another piece of this ever again! Glad that is is going to go into a Grade 1 listed church!
